Dryer Won't Start? Complete Troubleshooting Guide Toronto
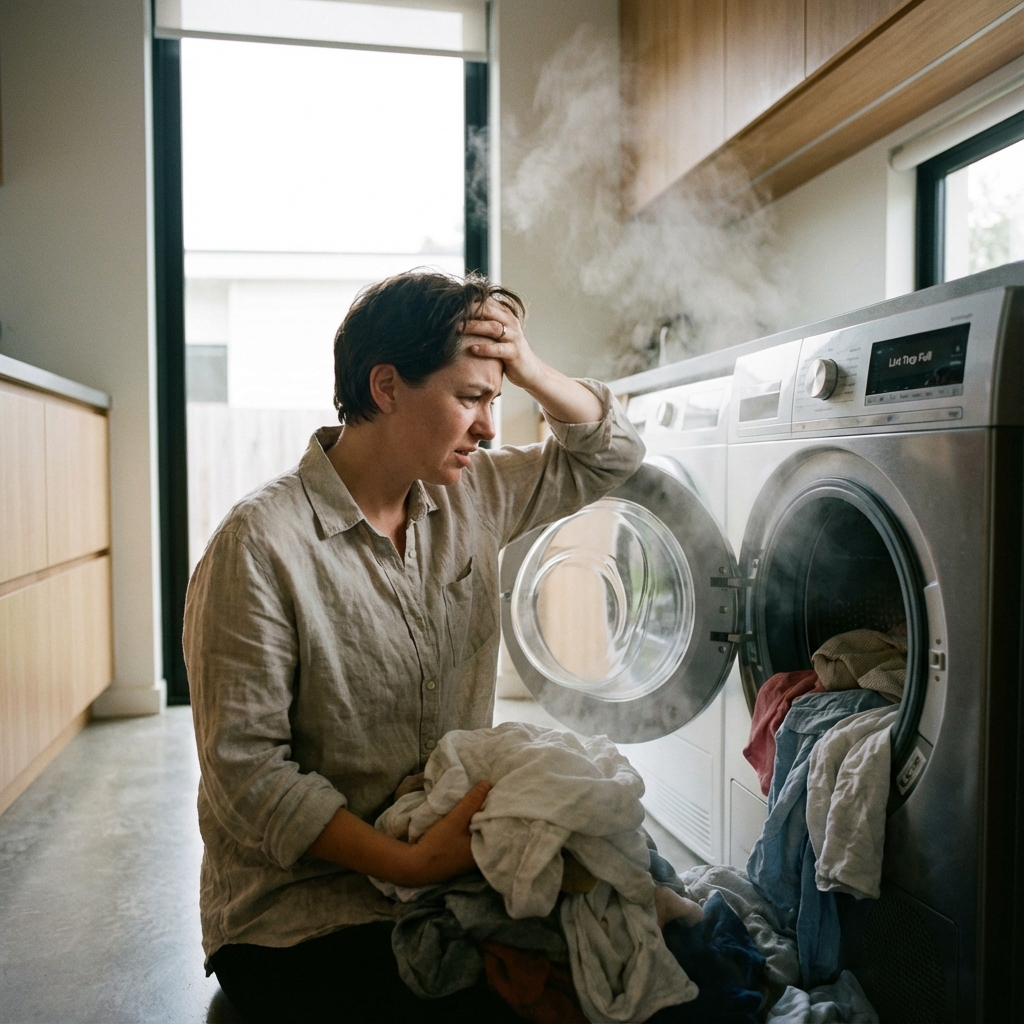
When your dryer won't start or turn on, it can disrupt your laundry routine and leave you with wet clothes. This frustrating problem affects thousands of Toronto households annually, but many starting issues can be resolved with proper troubleshooting. From power supply problems to door latch failures, understanding common causes helps you determine whether you need professional repair or can fix the issue yourself.
Quick Answer: Dryer won't start or turn on? Expert troubleshooting guide for Toronto homeowners. Professional diagnosis and repair solutions for all dryer starting problems. This is a common issue that can usually be resolved with proper troubleshooting. If the problem persists, professional diagnosis is recommended.
Quick Diagnosis: Signs Your Dryer Won't Start
IMMEDIATE SYMPTOMS TO CHECK
Complete Power Failure
No response indicators:
- No lights, display, or sounds when pressing power
- Control panel completely dark
- No drum movement or motor sounds
- No response to any button presses
Partial Power Issues
Limited functionality signs:
- Lights work but drum won't turn
- Display shows but no heating or spinning
- Some buttons respond, others don't
- Intermittent starting problems
Door-Related Starting Problems
Door mechanism issues:
- Door appears closed but dryer won't start
- Door latch clicks but no operation begins
- Error codes related to door position
- Manual door opening/closing required repeatedly
Common Causes: Why Dryers Won't Start
1. POWER SUPPLY PROBLEMS (40% of cases)
Electrical Connection Issues
Power supply troubleshooting:
- Circuit breaker tripped: Check electrical panel for tripped breakers
- Loose outlet connection: Verify 240V outlet connection secure
- Damaged power cord: Inspect cord for fraying or damage
- GFCI outlet tripped: Reset GFCI outlets if applicable
Voltage Requirements
Electric dryer power needs:
- Standard requirement: 240V, 30-amp dedicated circuit
- Insufficient voltage: Causes starting failures or poor performance
- Shared circuits: Can cause power interruptions during operation
- Professional testing: Required for accurate voltage measurement
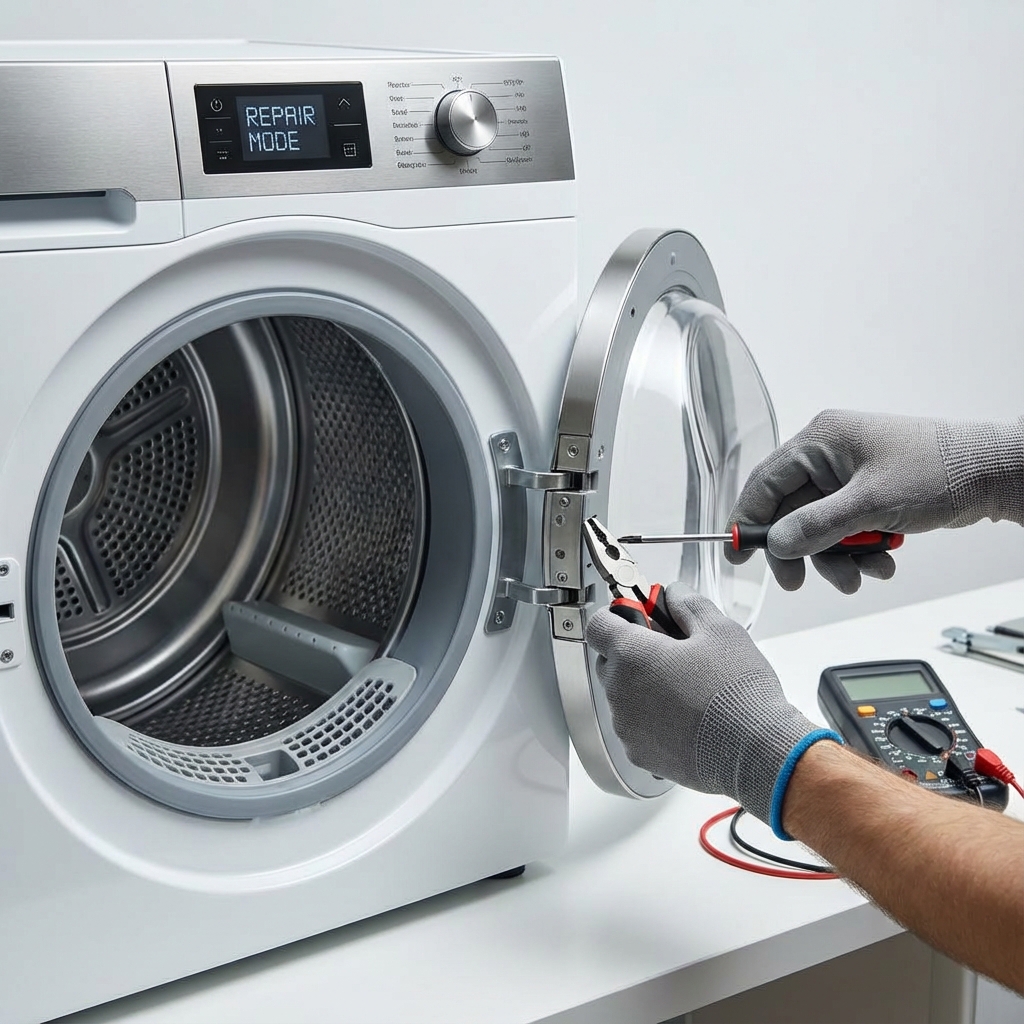
2. DOOR LATCH FAILURES (25% of cases)
Door Latch Mechanism Problems
Common latch issues:
- Misaligned door: Door doesn't engage latch properly
- Worn latch components: Springs or catches worn out
- Lint accumulation: Blocking proper latch engagement
- Broken door strike: Prevents secure door closure
Door Switch Malfunctions
Switch-related problems:
- Faulty door switch: Doesn't signal closed door to control board
- Wiring problems: Loose connections to door switch
- Switch adjustment: Improper switch positioning
- Replacement needed: Switch completely failed
3. CONTROL PANEL MALFUNCTIONS (20% of cases)
Control Board Issues
Electronic control problems:
- Failed control board: No response to user inputs
- Software glitches: Temporary control malfunctions
- Button failures: Specific buttons not responding
- Display problems: Blank or corrupted display
User Interface Problems
Control panel troubleshooting:
- Stuck buttons: Physical button mechanism jammed
- Moisture damage: Humidity affecting electronic components
- Wear and tear: Buttons worn from heavy use
- Programming errors: Incorrect cycle selection preventing start
4. THERMAL SAFETY DEVICES (10% of cases)
Thermal Fuse Protection
Safety device activation:
- Blown thermal fuse: Prevents dryer operation completely
- Overheating protection: Triggered by poor ventilation
- One-time device: Must be replaced once blown
- Root cause required: Address overheating source
High-Limit Thermostat
Temperature control issues:
- Thermostat failure: Prevents heating cycle initiation
- Cycling problems: Intermittent starting issues
- Ventilation related: Poor airflow causes overheating
- Professional diagnosis: Required for accurate testing
DIY Troubleshooting Steps
STEP 1: BASIC POWER CHECKS
Electrical System Verification
Power supply testing:
- Check circuit breaker: Ensure dryer breaker not tripped
- Test outlet voltage: Use multimeter for 240V confirmation
- Inspect power cord: Look for visible damage or loose connections
- Verify outlet connection: Ensure plug fully inserted
Quick Power Tests
Simple verification methods:
- Try different appliance: Test outlet with another 240V device
- Check other circuits: Verify home electrical system working
- Reset breakers: Turn off and on dryer circuit breaker
- Professional testing: Call electrician for complex electrical issues
STEP 2: DOOR AND LATCH INSPECTION
Door Alignment Check
Proper door closure:
- Visual inspection: Check door alignment with dryer frame
- Listen for click: Door latch should click securely
- Test door movement: Door should close smoothly without force
- Check door seal: Ensure door gasket not preventing closure
Latch Cleaning and Adjustment
Maintenance procedures:
- Remove lint buildup: Clean latch area thoroughly
- Lubricate hinges: Use appropriate lubricant for smooth operation
- Adjust strike plate: Ensure proper latch engagement
- Test door switch: Manually activate switch to test function
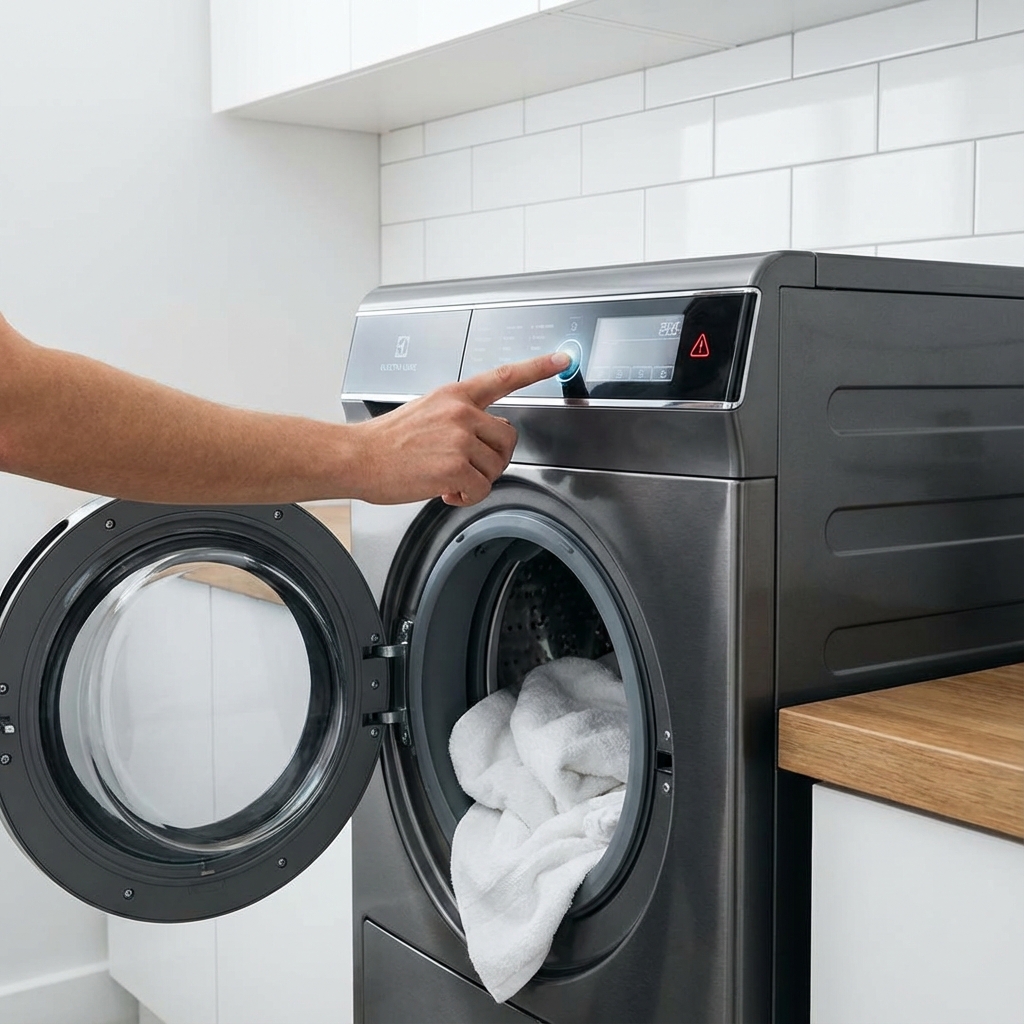
STEP 3: CONTROL PANEL TESTING
Button and Display Check
Control system verification:
- Test all buttons: Press each button to check response
- Check display: Verify all segments and lights working
- Try different cycles: Test various program selections
- Power cycle: Unplug dryer for 5 minutes, then restart
Reset Procedures
Control system reset:
- Unplug dryer: Disconnect power for complete reset
- Hold buttons: Some models require specific button combinations
- Factory reset: Consult manual for reset procedures
- Professional service: Complex control issues require expert diagnosis
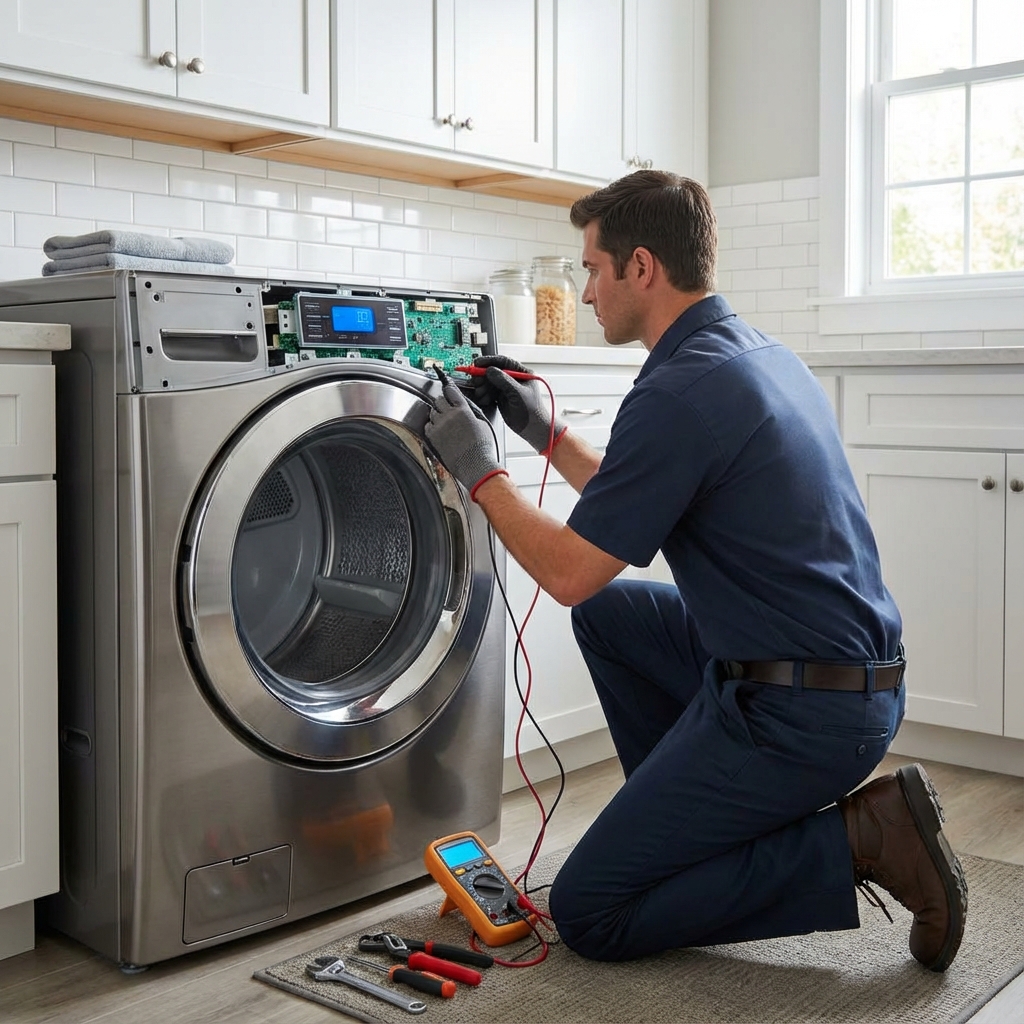
When to Call Professional Repair
SAFETY CONCERNS
Electrical Hazards
Professional service required:
- 240V electrical work: High voltage requires certified technicians
- Gas connections: Gas dryers need licensed gas technicians
- Internal wiring: Complex electrical repairs inside dryer
- Code compliance: Ensure repairs meet local electrical codes
Complex Diagnostics
Expert diagnosis needed:
- Control board testing: Requires specialized equipment
- Thermal device testing: Professional multimeter testing
- Motor problems: Internal motor issues need expert service
- Warranty considerations: Professional service maintains warranty coverage
COST-EFFECTIVE REPAIRS
Repair vs. Replacement
Decision factors:
- Age of dryer: Units over 10 years may not justify major repairs
- Repair costs: Compare repair cost to replacement cost
- Energy efficiency: Newer models offer better efficiency
- Reliability: Frequent repairs indicate replacement time
Professional Dryer Repair Toronto
JK APPLIANCES EXPERT SERVICE
Comprehensive Diagnosis
Professional troubleshooting:
- Complete electrical testing: Voltage, amperage, and continuity testing
- Control system analysis: Advanced diagnostic equipment
- Safety device testing: Thermal fuse and thermostat verification
- Performance evaluation: Overall dryer efficiency assessment
Same-Day Repair Service
Emergency dryer repair:
- Rapid response: Same-day service throughout Toronto GTA
- Certified technicians: Factory-trained repair specialists
- Genuine parts: OEM replacement parts for all major brands
- Warranty coverage: All repairs backed by comprehensive warranty
Service Areas
Toronto dryer repair coverage:
- Downtown Toronto: Financial District, Entertainment District
- North York: Willowdale, Don Mills, Thornhill
- Scarborough: Agincourt, Malvern, Rouge
- Etobicoke: Islington, Rexdale, Mimico
- York Region: Markham, Richmond Hill, Vaughan
Dryer Maintenance Prevention
REGULAR MAINTENANCE SCHEDULE
Monthly Tasks
Preventive maintenance:
- Clean lint filter: After every load for optimal airflow
- Inspect door seal: Check for wear or damage
- Test door latch: Ensure proper closure and engagement
- Check exhaust vent: Verify outside vent flap opens during operation
Annual Professional Service
Comprehensive maintenance:
- Deep vent cleaning: Professional ductwork cleaning
- Electrical inspection: Connection and wiring verification
- Safety device testing: Thermal protection system check
- Performance optimization: Efficiency and cycle time evaluation
USAGE BEST PRACTICES
Proper Loading Techniques
Optimal dryer operation:
- Appropriate load size: Don't overload or underload dryer
- Fabric separation: Separate heavy and light fabrics
- Moisture levels: Don't over-dry clothes
- Cycle selection: Use appropriate cycles for fabric types
Environmental Considerations
Installation factors:
- Adequate ventilation: Ensure proper exhaust system
- Level installation: Prevent vibration and mechanical stress
- Clearance space: Maintain proper spacing around dryer
- Clean environment: Keep laundry area free of lint and debris
Emergency Dryer Service Toronto
24/7 REPAIR AVAILABILITY
Emergency Situations
Immediate service needed:
- Complete power failure: No response to any controls
- Safety concerns: Unusual sounds, smells, or sparks
- Gas odors: Immediate professio
Common Questions People Ask
Q: Is it normal for my dryer won't start to have issues? No, this is not normal behavior and indicates an underlying issue that should be addressed promptly to prevent further damage.
Q: Can I fix this dryer won't start problem myself? Some basic issues can be resolved with DIY troubleshooting, but complex problems require professional diagnosis to avoid safety risks and warranty issues.
Q: How much does professional dryer won't start repair cost in Toronto? Repair costs typically range from $150-$400 depending on the specific issue and parts needed. Our technicians provide free estimates before any work begins.
Q: How long does dryer won't start repair take? Most repairs are completed within 1-2 hours during a single visit. Some cases may require ordering specialty parts with a follow-up appointment.
Q: Should I repair or replace my dryer won't start? If your dryer won't start is less than 8 years old and repair costs are under 50% of replacement cost, repair is usually the better value. Our technicians can help you make the right decision.
Q: Do you offer same-day dryer won't start repair in Toronto? Yes! We offer same-day and emergency repair services throughout Toronto and the Greater Toronto Area for urgent issues.
Q: What brands of dryer won't start do you repair? We service all major brands including Bosch, Samsung, LG, Whirlpool, KitchenAid, GE, Maytag, Frigidaire, Miele, and more.
Q: Is dryer won't start repair covered by warranty? Many dryer won't start issues are covered under manufacturer warranty. We can help verify your warranty status and handle claim processing.
nal attention required
- Water damage: Leaks causing property damage
Contact Information
Emergency dryer repair:
- Phone: +1 647-560-8966
- Service hours: 24/7 emergency availability
- Response time: Same-day service throughout GTA
- Online booking: Schedule service at jkappliances.ca
Frequently Asked Questions About Dryer Won't Start Problems
Q: Why does my dryer have power but won't start? A: A dryer with lights/display working but drum not starting indicates the control panel receives power but starting mechanisms have failed. Common causes include faulty door latch or door switch preventing safety circuit completion (dryers won't operate unless door properly closed), blown thermal fuse from previous overheating cutting power to motor circuit, broken drive belt (motor runs but drum doesn't turn—listen for motor humming), failed start switch or selector switch, control board malfunction not sending start signal to motor, or moisture sensor issues in some models. Start diagnosis by confirming door clicks closed firmly, checking for error codes on display, listening for motor sounds when start pressed, and testing thermal fuse continuity if accessible.
Q: Can a clogged vent prevent my dryer from starting? A: Yes, severely clogged dryer vents trigger thermal safety devices that prevent starting to protect against fire hazards. When airflow is blocked, the dryer overheats during operation causing the thermal fuse (one-time safety device) to blow permanently—this cuts all power to the motor preventing any starting. High-limit thermostats may also trip and prevent operation until reset. Warning signs before complete failure include longer drying times, dryer exterior getting very hot, musty odors, and lint accumulation around dryer. After professional vent cleaning resolves the blockage, the blown thermal fuse still requires replacement ($15-30 part, $100-150 installed) before the dryer operates again. This emphasizes why annual vent cleaning prevents expensive breakdowns.
Q: How do I know if my dryer's thermal fuse is blown? A: A blown thermal fuse causes complete dryer failure—absolutely no lights, sounds, display, or any response when attempting to start, as if unplugged. Unlike circuit breakers, thermal fuses don't trip visibly and cannot be reset—they're one-time safety devices requiring replacement. To confirm blown thermal fuse, check circuit breaker first (should not be tripped), test outlet voltage with multimeter (should show 240V for electric dryers), then access thermal fuse location (usually on blower housing or heating element housing—consult service manual). Use multimeter set to continuity/resistance—good fuse shows continuity (beeps or reads near 0 ohms), blown fuse shows no continuity (infinite resistance). Critical: Always address the root cause (usually clogged vent or failed cycling thermostat) before replacing thermal fuse or it will blow again immediately.
Q: Is it worth repairing an old dryer that won't start? A: Repair versus replacement depends on dryer age, repair costs, and overall condition. Generally repair if: dryer under 8 years old (expected lifespan 10-13 years), repair costs under 50% of replacement cost ($300-400 threshold for most repairs), single isolated problem rather than multiple failures, dryer otherwise performs well, and energy efficiency acceptable. Consider replacement if: dryer over 10 years old, estimated repairs exceed $400-500, multiple components failing, frequent previous repairs, significant rust or mechanical wear, or energy bills high from inefficiency. Example: $175 door switch replacement on 5-year-old dryer makes financial sense; $350 motor replacement on 12-year-old dryer with previous repairs suggests replacement. At JK Appliances Toronto, we provide honest assessments helping you make informed decisions about repair cost-effectiveness versus new appliance investment.
Q: What should I check first when my dryer won't start? A: Follow this systematic troubleshooting sequence for fastest diagnosis: First, verify power by checking circuit breaker (dryers use 240V requiring two breakers—both must be on). Second, confirm door closes completely with audible click—90% of "won't start" calls involve door latch issues. Third, try different cycles and options—some cycle selections won't start under certain conditions. Fourth, unplug dryer for 5 minutes to reset control board (similar to computer reboot). Fifth, check for error codes on digital display indicating specific faults. Sixth, listen when pressing start—motor humming without drum turning means broken belt; no sound at all suggests electrical/control issues. Seventh, inspect thermal fuse if accessible—most common electrical failure point. This sequence identifies 70-80% of starting problems without professional service.
Q: Can I replace a dryer thermal fuse myself? A: Yes, thermal fuse replacement is a manageable DIY repair for those comfortable with basic appliance disassembly and electrical testing, saving $75-100 in labor costs. The process involves: disconnect power at breaker (critical safety step), remove dryer cabinet or rear panel for access (varies by model—front-load vs. top-load), locate thermal fuse on blower housing or heating element (consult service manual or online diagrams), photograph wire connections before removal, disconnect wires and remove fuse (usually one or two screws), test old fuse with multimeter to confirm failure, install exact replacement fuse (match amperage rating—typically 3.2A for thermal fuse), reconnect wires matching original configuration, and test dryer operation. However, critical warning: Fuse replacement is symptom treatment—you MUST identify and fix the root cause (clean vent system, replace cycling thermostat, repair airflow blockages) or the new fuse blows immediately upon first use.
Q: Why does my dryer make clicking sounds but won't start? A: Clicking when pressing start indicates the control system attempts operation but something prevents completion. Clicking sources and meanings: Relay clicking on control board shows electrical signal sent but motor not engaging (suggests motor failure, capacitor issues, or wiring problems). Door latch clicking without starting means latch mechanism works but door switch doesn't signal "closed" to control board (switch replacement needed $80-150). Timer or selector switch clicking suggests mechanical switch failure not completing electrical circuit. Rapidly repeating clicks often indicate failed start capacitor on motor (especially gas dryers). Single click followed by silence usually means thermal safety device tripped preventing operation. To diagnose, note click frequency and source location, check if motor attempts to turn (slight hum), and verify door switch operation by manually pressing switch with door open—lights should turn off indicating switch works.
** Q: What does it mean if my dryer starts then immediately stops?** A: Dryer starting briefly then stopping indicates safety circuit interruption or control board detecting fault conditions. Common causes include door switch intermittently failing—door appears closed but switch doesn't maintain signal during drum rotation (door may need firmer close or switch replacement), thermal safety devices (high-limit thermostat) tripping due to overheating then resetting , moisture sensor malfunction reading wet clothes as dry and ending cycle immediately, control board software glitches requiring power cycle reset, or drive belt issues causing motor overload. For gas dryers specifically, starting then stopping often means flame sensor not detecting flame so gas valve closes for safety. Most intermittent starting problems require professional diagnosis with specialized equipment to monitor electrical signals during operation identifying exact failure point.
Q: Can a bad door latch be fixed or does it need replacement? A: Door latch repair depends on the specific problem type. Some latch issues you can fix: clean lint and debris from latch mechanism and strike plate, tighten loose mounting screws on door or latch assembly, adjust strike plate position for better latch engagement, lubricate hinges for smoother door closure, or bend slightly misaligned metal strike plate back into position. However, replacement required for: broken plastic latch components (common failure on older dryers), worn or broken latch springs, cracked door switch integrated into latch assembly, damaged electrical connections, or stripped mounting holes. Door latch assemblies cost $25-60 for parts, $100-150 installed professionally. Many latches include integrated door switch, so both components get replaced together. Replacement is straightforward DIY for mechanically inclined individuals—typically 4-6 screws and two wire connections.
Q: How much does it cost to fix a dryer that won't start in Toronto? A: Dryer starting repair costs vary significantly based on the specific component failure: Diagnostic fees run $80-120 but typically waived when proceeding with repair. Simple DIY fixes like door adjustment or control panel reset cost nothing. Door switch replacement costs $80-150, thermal fuse replacement runs $100-150 (if root cause also addressed), drive belt replacement is $120-180, door latch assembly replacement costs $100-150, start switch or timer switch replacement runs $120-200, control board replacement is most expensive at $200-400, and motor replacement (rare) costs $250-400. Gas dryer repairs average 10-15% higher due to gas components. At JK Appliances Toronto, most "won't start" repairs fall in the $100-200 range. We provide upfront pricing after diagnosis so you understand costs before approving work, include warranties on parts and labor, and offer same-day service throughout the GTA.
Q: Why would both circuit breakers be on but my dryer still has no power? A: Electric dryers require 240V from two 120V breakers—if both appear "on" but dryer has no power, several issues are possible: One breaker partially tripped appearing "on" but not making connection—reset by flipping fully OFF then back ON. Breaker failure where internal mechanism broke but handle position unchanged (test outlet voltage with multimeter). Loose wire connections at breaker panel causing intermittent power loss. Failed outlet receptacle where dryer plugs in (common with heavy appliance loads over 10+ years). Damaged or loose wires inside dryer's terminal block where power cord connects. GFCI outlet tripped if dryer circuit protected that way (reset GFCI). Power cord internal wire breakage while cord appears intact externally. Test with multimeter at dryer terminal block—should read 240V between two hot lines and 120V from each hot to neutral. Any voltage discrepancies require professional electrician, as 240V electrical work is hazardous for non-professionals and mistakes cause fires or electrocution.
Q: Can I run my dryer if it starts intermittently? A: No, operating a dryer with intermittent starting creates serious safety and damage risks. Intermittent operation indicates failing components that could completely fail during use causing fire hazards (especially if thermal fuses cycle repeatedly), electrical damage to control boards from power fluctuations, mechanical damage from partial starts creating unusual stresses on drive components, incomplete drying requiring extended run times increasing energy costs and component wear, and potential for dryer to stop mid-cycle leaving wet clothes. Additionally, intermittent problems worsen rapidly—what starts as occasional failure becomes complete non-operation, often at the worst possible time. Address intermittent starting immediately through professional diagnosis. Warning signs requiring immediate action include burning smells, unusual sounds during start attempts, visible sparks or smoke, and repeated control panel resets needed. Safety takes priority over laundry convenience—use laund romat temporarily while repairing dryer properly rather than risking fire or electrical damage.
Dryer won't start in Toronto? Contact JK Appliances at +1 647-560-8966 for expert diagnosis and same-day repair service. We fix all major dryer brands with guaranteed results and comprehensive warranties.
Expert Tips & Pro Insights
💡 Pro Tip: Regular maintenance can prevent 80% of appliance problems. Follow manufacturer guidelines for cleaning and care.
⚠️ Safety Warning: Always disconnect power before attempting any repairs or inspections. If you smell gas, evacuate immediately and call emergency services.
🔧 Technician Insight: Many issues that seem complex often have simple solutions. Start with basic troubleshooting before assuming the worst.
📞 When to Call a Professional: If you encounter electrical components, gas lines, refrigerant systems, or if basic troubleshooting doesn't resolve the issue, it's time to call an expert.